Is your AC running, but your home still feels warm? If so, dirty coils could be the reason. Knowing how to clean AC evaporator coils is one of the easiest ways to restore cooling, lower energy bills, and prevent costly repairs. Over time, dust, dirt, and mold build up on the coils. It can block airflow and make your AC work harder. This leads to poor cooling, higher electricity costs, and even system breakdowns.
Many homeowners skip coil cleaning or make common mistakes. Common mistakes include using too much water, scrubbing too hard, or choosing the wrong cleaners, which can damage your AC coils. Learning how to clean an evaporator coil the right way keeps your AC running smoothly and helps you avoid expensive damage.
In this guide, you will learn:
- Warning signs that your AC evaporator coils need cleaning.
- The right tools and materials to get the job done.
- Step-by-step instructions on how to clean HVAC coils safely.
- Common mistakes to avoid that could harm your AC.
- How often to clean your coils for the best performance?
A clean AC cools faster, lasts longer, and saves you money. Let’s get started!
Signs That Your AC Evaporator Coils Need Cleaning
Wondering if your AC coils are dirty? Look for these warning signs:
- Weak or warm airflow – The AC is on, but your home isn’t cooling.
- AC runs constantly – It struggles to reach the desired temperature.
- Ice buildup on coils – Ice forming on the indoor unit is a clear sign of airflow restriction.
- Musty smell from vents – Mold or mildew may be growing on the coils.
- Higher electricity bills – Your AC is overworking to compensate for dirty coils.
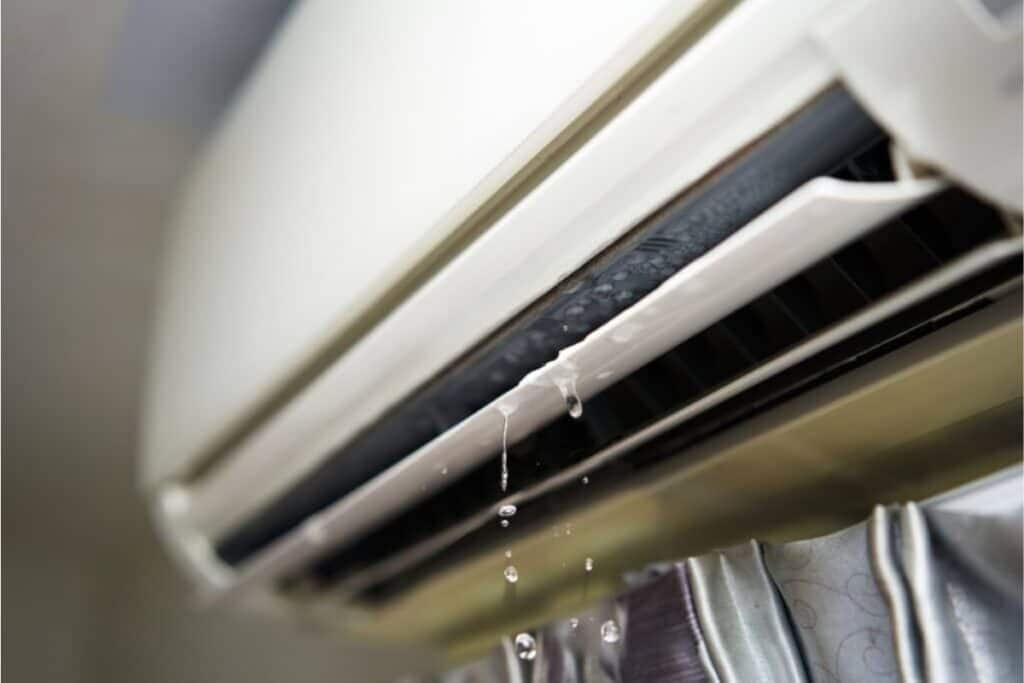
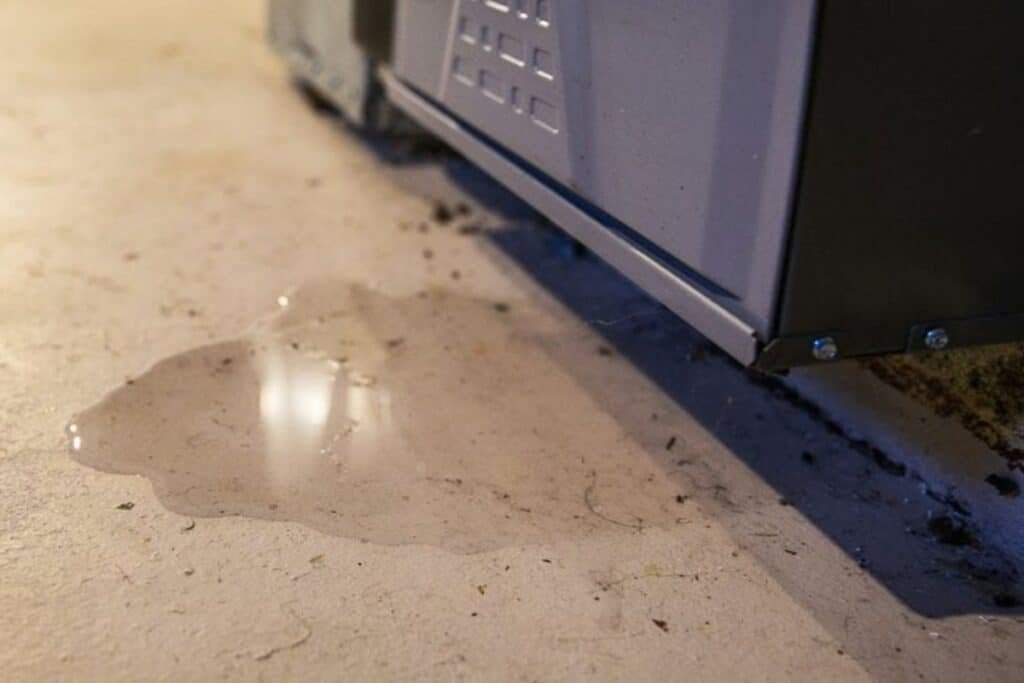
- Water leaks around the AC unit – Clogged coils can lead to excess condensation and leaks.
💡If you notice any of these issues that means it’s time to clean your evaporator coils!
Tools and Materials Needed to Clean AC Evaporator Coils
Before starting, gather these supplies to make the process smooth and safe:
✔ Vacuum cleaner – A soft brush attachment works best for dust removal.
✔ Soft-bristle brush or coil cleaning brush – Helps loosen stuck-on dirt.
✔ AC coil cleaner (store-bought or DIY solution) – Breaks down grease, mold, and grime.
✔ Fin comb (for straightening bent fins) – Helps restore proper airflow.
✔ Gloves and safety goggles – Protect your hands and eyes from dirt and chemicals.
✔ Screwdriver – Needed to remove the AC panel and access the coils.
💡 Pro Tip: Using a foam-based AC coil cleaner simplifies the process. It expands, penetrates dirt, and dissolves grime without scrubbing.
How to Clean AC Evaporator Coils: Step-by-Step Guide
Cleaning your AC evaporator coils properly requires patience, the right tools, and careful handling to avoid damage. Follow these detailed step-by-step instructions to get the best results while keeping your AC system in top condition.
Step 1: Turn Off the Power
Before doing anything, turn off your AC at the thermostat or circuit breaker. This keeps you safe from electrical hazards while cleaning.
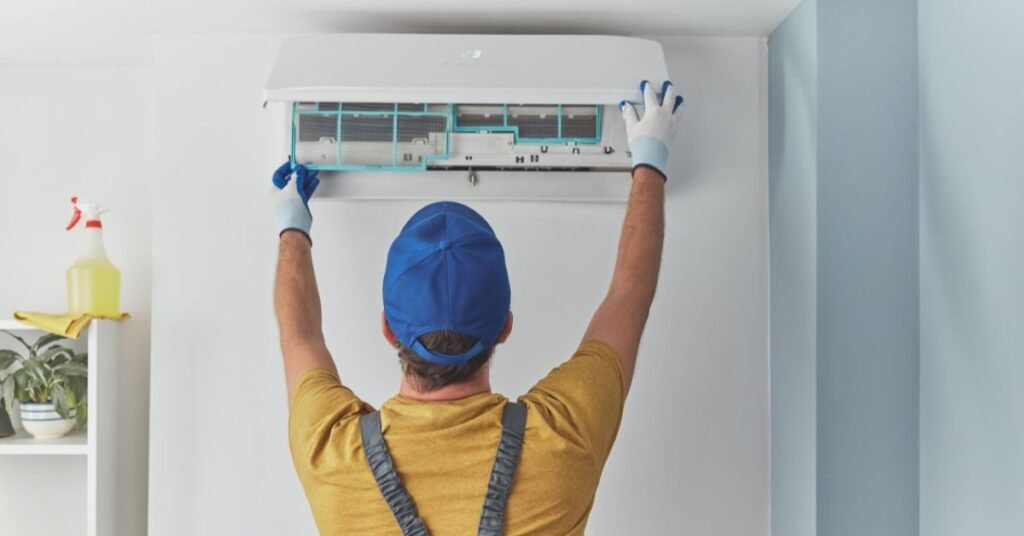
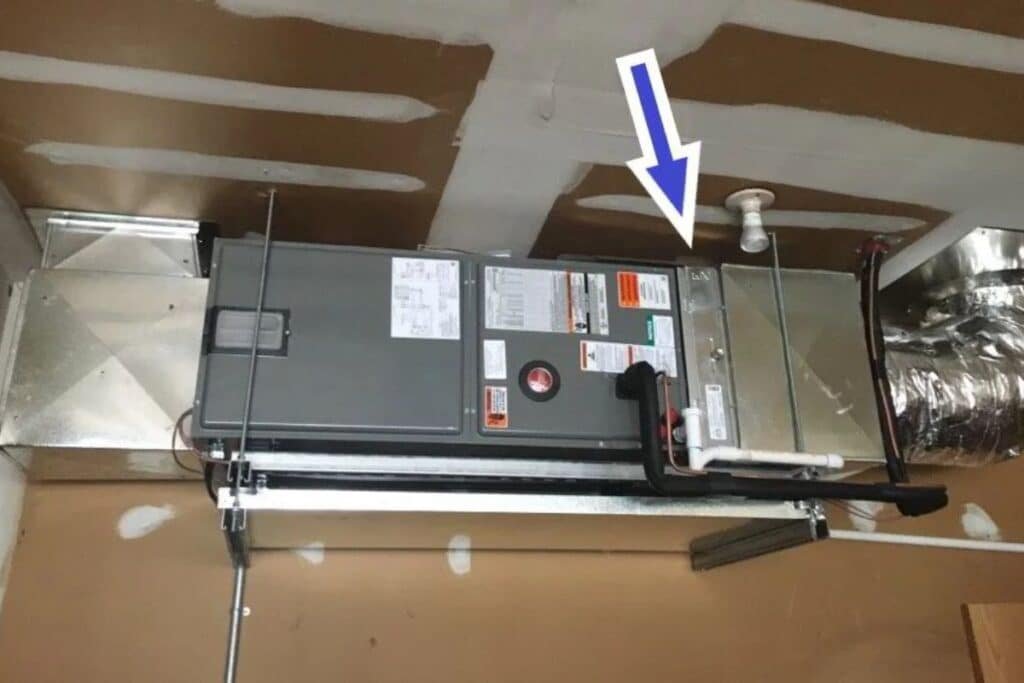
Step 2: Locate & Access the Evaporator Coils
The evaporator coils are inside the indoor air handler unit, which is usually located in:
- The Attic
- A closet
- The basement
Use a screwdriver to remove the access panel and expose the coils.
💡 Take a quick picture before removing anything! It’ll help when putting everything back together.
Step 3: Dry Cleaning Method (For Light Dust & Debris)
If your coils have light dust buildup, dry cleaning is enough:
- Use a vacuum cleaner with a brush attachment to gently remove dust.
- Gently brush the coils using a soft-bristle brush to loosen stuck dirt.
- Blow compressed air onto the coils to dislodge fine particles.
When to Use: This method works best for regular HVAC maintenance every 3 months.
Step 4: Deep Cleaning (For Heavy Dirt & Mold Buildup)
If the coils are heavily soiled then follow these deep-cleaning steps:
- Spray an AC coil cleaner evenly over the coils.
- Let the foam sit for 5–10 minutes to break down dirt and grime.
- Use a soft cloth or brush to gently wipe away residue.
- If needed, lightly rinse with warm water to remove excess cleaner.
DIY Alternative: Mix equal parts vinegar and warm water as a safe, non-toxic AC coil cleaner.
Step 5: Straighten Coil Fins (If Needed)
Bent coil fins can restrict airflow. Use a fin comb to gently straighten them. This ensures maximum efficiency.
Step 6: Reassemble & Turn the AC Back On
- Secure the access panel properly to keep the internal parts safe and ensure your AC works correctly.
- Turn the power back on and set your thermostat to cooling mode.
- Run the AC for 10 minutes and check for improved cooling.
You are done! Your AC evaporator coils are now clean!
Common Mistakes to Avoid When Cleaning AC Coils
Even though cleaning AC coils is simple, some mistakes can damage your AC.
1. Can You Damage AC Coils While Cleaning?
Yes! The metal fins on coils bend easily, and strong chemicals can cause corrosion.
✔ DO: Use soft brushes and gentle cleaners.
❌ DON’T: Scrub too hard because this can bend the coil fins.
✔ DO: Use no-rinse foam cleaners or mild solutions.
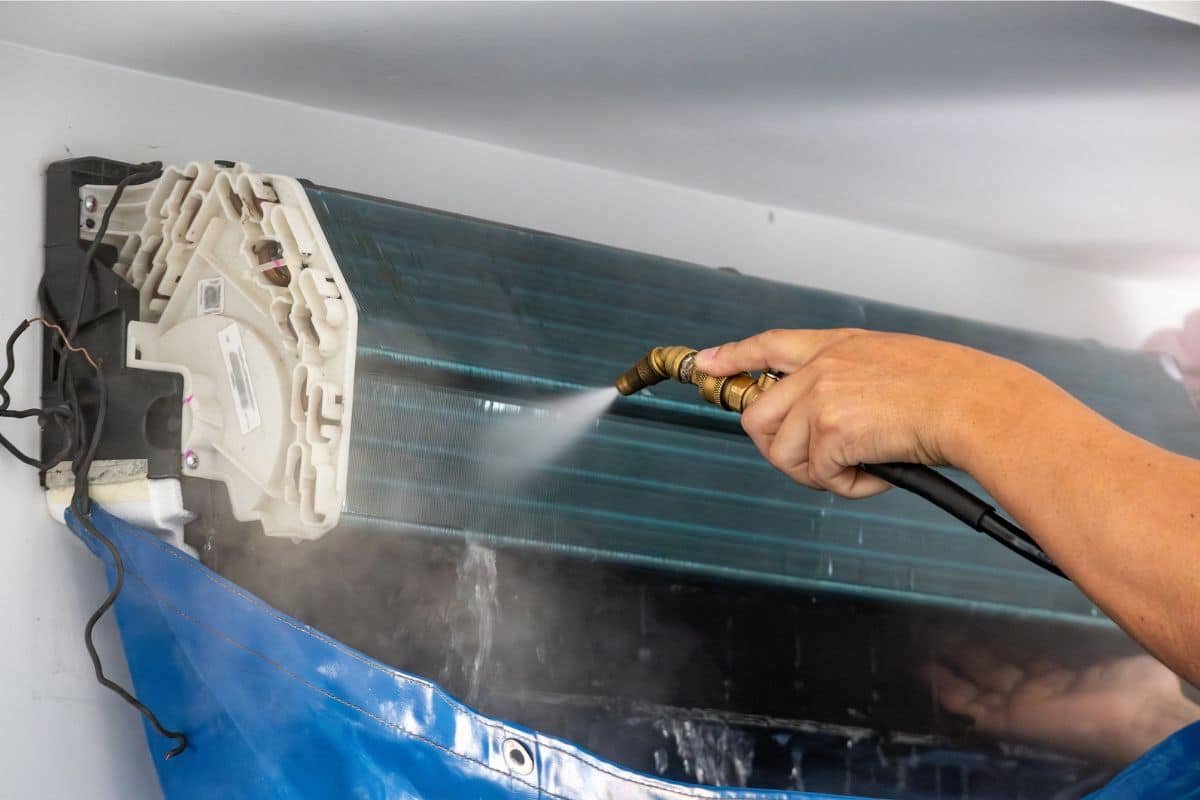
❌ DON’T: Use high-pressure water because it pushes dirt deeper into the coils.
2. Using Too Much Water or Harsh Chemicals
Too much water or strong cleaners can cause damage:
❌ Water Damage – Excess water can short-circuit your AC.
❌ Mold Growth –Moisture buildup can lead to mold and bacteria growth.
❌ Rust & Corrosion – Harsh cleaners eat away at the metal coils.
Instead, use:
✔ A no-rinse coil cleaner.
✔ A damp microfiber cloth to remove dirt.
✔Use a spray bottle to apply cleaning solutions evenly and prevent excess liquid from damaging the coils.
3. Not Turning Off the AC Before Cleaning
Cleaning while the AC is running is dangerous!
❌ Risk of electric shock if you touch internal parts.
❌ Short-circuiting the system if water drips inside.
💡 Always turn off your AC at the thermostat & breaker first.
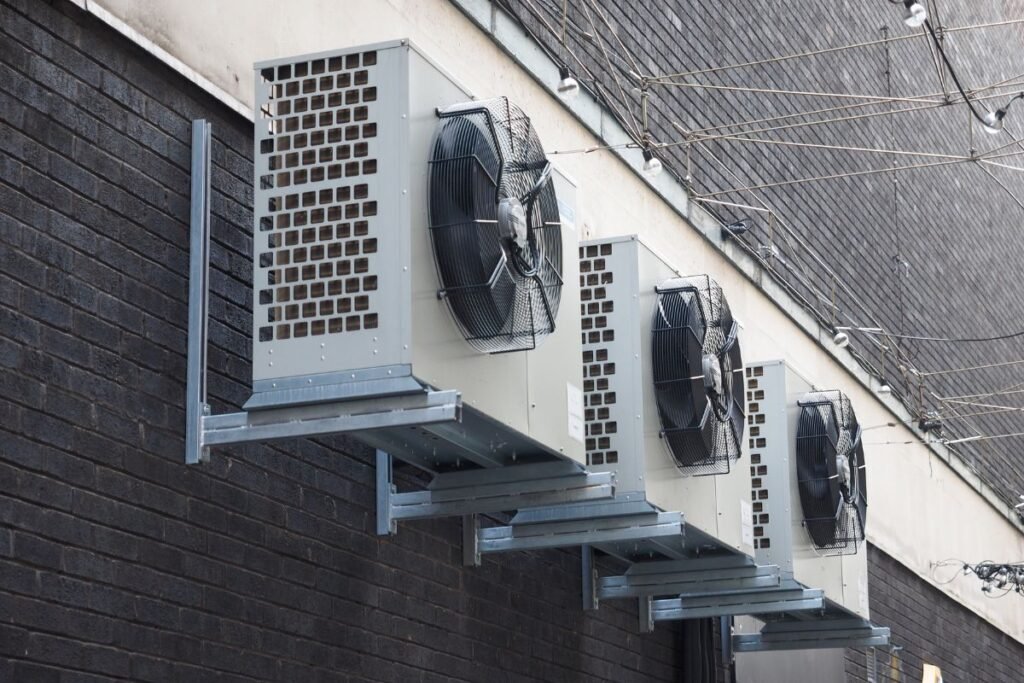
4. Ignoring the Outdoor Condenser Coils
Most people only clean the indoor coils, but your outdoor unit also collects dirt.
- Check and clean condenser coils at least twice a year.
- Remove leaves, dirt, and debris blocking the unit.
- Use a low-pressure garden hose (not a pressure washer) to clean condenser coils.
💡 Quick Tip: Keep at least 2 feet of space around your outdoor unit to help with airflow.
How Often Should You Clean Your AC Coils?
The best cleaning schedule depends on how often you use your AC and where you live.
Every 3 Months – If you:
- Have pets (fur and dander clog AC filters and coils fast).
- Live in a dusty place (near a road, construction, or open fields).
- Use your AC daily, especially in summer.
Every 6 Months – If:
- Your AC use is moderate (not running all day).
- You live in a clean home with little dust.
- You regularly change your AC filters.
Once a Year – Best for:
- Low-humidity, dust-free homes where AC use is limited.
- People who rarely use their AC throughout the year.
Twice a Year (Spring & Fall) – If you:
- Live in humid places (mold and mildew grow faster).
- Use your AC for most of the year.
- Have allergies and want better air quality.
💡 Quick Tip: The best time to clean your AC coils is before summer so it runs better when you need it most.
What Makes Coils Get Dirty Faster?
Some homes need coil cleaning more often because of:
- Pets in the Home – Pet hair and dander clog filters. It coats the coils and reduces airflow, which makes the AC less efficient.
- High Humidity – More moisture means faster mold and mildew buildup.
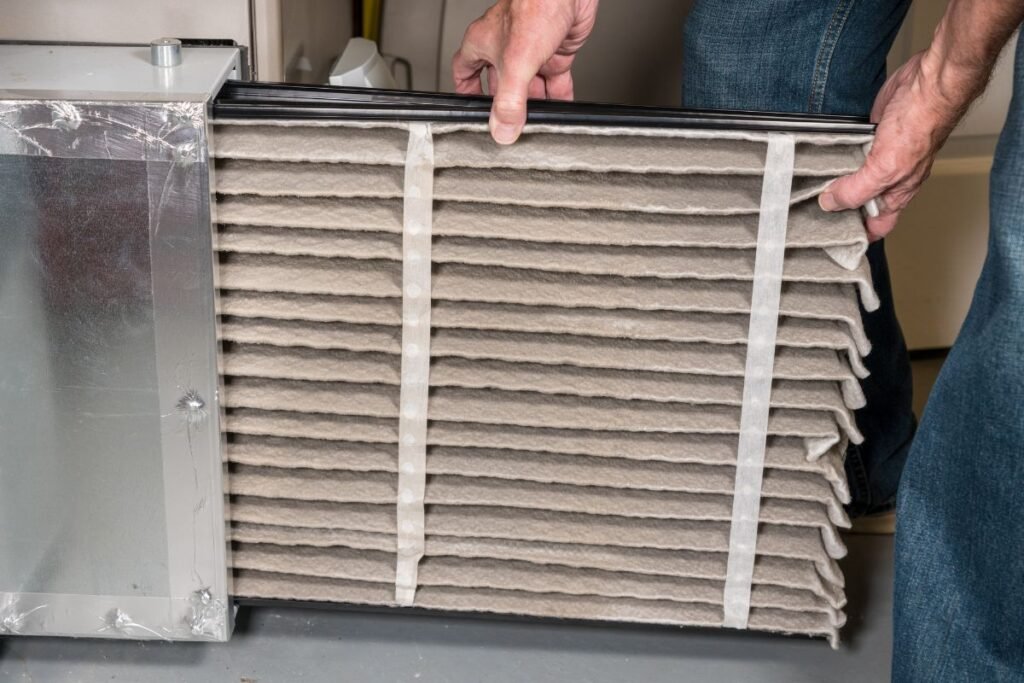
- Dirty Air Filters – A clogged filter lets more dust reach the coils.
- Indoor Smoking – Smoke leaves a sticky layer on the coils. It makes them harder to clean.
- Dusty Environments – If your home is near a dirt road, construction site, or a busy street, your AC will collect dirt faster.
Best Time of Year to Clean Your AC Coils
- Spring: Clean before summer so your AC cools better and saves energy.
- End of Summer: After months of use, clean your coils to remove dirt buildup.
- Winter: Even when not using your AC, dust settles inside—covering your outdoor unit can help.
Troubleshooting: What If My AC Still Doesn’t Cool?
If your AC still has issues after cleaning, check for:
Dirty air filters – Replace them if clogged.
Low refrigerant levels – A professional technician should check this.
Blocked outdoor condenser coils – These also need cleaning!
Faulty thermostat settings – Ensure it’s set to the right temperature.
If none of these fixes work, it’s time to call a professional AC technician.
Tips for Maintaining Clean AC Coils
To keep your AC running efficiently year-round, you can follow these maintenance tips:
- Clean your evaporator coils every 3–6 months.
- Change air filters every 1–2 months to prevent dust buildup.
- Keep the condenser coils (outdoor unit) clean – They need maintenance too!
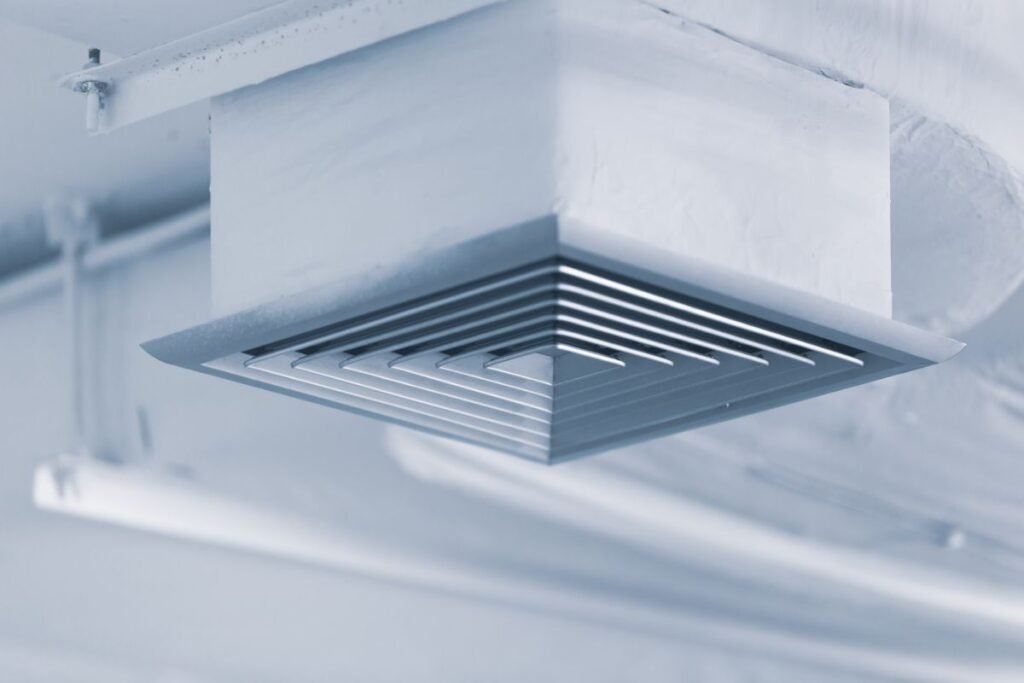
- Ensure your AC has proper airflow by keeping vents clear of furniture or obstructions.
- Schedule a professional AC check-up once a year for deep cleaning and system inspection.
Conclusion
A clean AC works better, lasts longer, and saves money. If you know how to clean AC evaporator coils then it helps you to improve your AC airflow, lower energy costs, and prevent costly repairs. Over time, dust and grime clog the coils which makes your AC work harder and reduces its cooling power. Regular cleaning keeps your system efficient and running smoothly.
Taking care of your AC now prevents bigger problems later. Whether you choose DIY cleaning or professional servicing, using the right tools and methods ensures the best results.
Your AC is an essential part of your home’s comfort. Stay ahead of maintenance, clean your coils regularly, and enjoy reliable cooling all year round.
FAQs: Cleaning AC Evaporator Coils
Can I clean the AC evaporator coils myself?
Yes, you can clean AC evaporator coils if they have light dust buildup. Use a soft brush, a vacuum with a brush attachment, or a no-rinse coil cleaner. If the coils have a lot of dirt or mold, a vinegar and water mix can help. For heavy grime or clogged coils, it’s better to call a professional.
What happens if I don’t clean my AC coils?
If you don’t clean your AC coils, dust and dirt will block airflow. It makes your AC work harder and raises your energy bill. Over time, this can lead to ice buildup, weak cooling, or even AC failure. Cleaning the coils regularly helps your AC run better and last longer.
How do I know if my AC evaporator coil is clogged?
If your AC isn’t cooling well, the coils might be clogged. Signs include weak airflow, warm air coming from vents, ice on the coils, a musty smell, or higher electricity bills. If your AC runs non-stop but doesn’t cool properly, it’s time to clean the coils.
Can I use vinegar to clean AC coils?
Yes, a mix of equal parts vinegar and warm water can clean AC coils. It helps break down dirt and mold without causing damage. Just don’t use too much liquid, and make sure the coils are dry before turning the AC back on.
How do professionals clean AC evaporator coils?
Professionals use stronger coil cleaners, special tools, and vacuums to remove dirt. For tough grime, they may use steam or a chemical rinse. This deep cleaning restores cooling power and keeps your AC running smoothly.