
Are you tired of finding puddles around your HVAC system? Water leaks aren’t just annoying, they can cause serious damage to your home and HVAC unit. In this ultimate guide, we will show you how to stop water leaking from HVAC systems by identifying common causes and offering practical solutions. From fixing clogged drain lines to addressing frozen HVAC coils, you will learn effective ways to fix HVAC water leaks quickly and efficiently.
We will also show you how to spot warning signs like AC water damage and explain how regular HVAC maintenance can help you prevent leaks in the future. You can avoid expensive repairs and keep your HVAC system running smoothly all year long with simple steps, Keep reading for expert tips and solutions on how to prevent AC water damage!
Understanding HVAC Water Leaks
Why Does Water Leak from Your HVAC Unit?
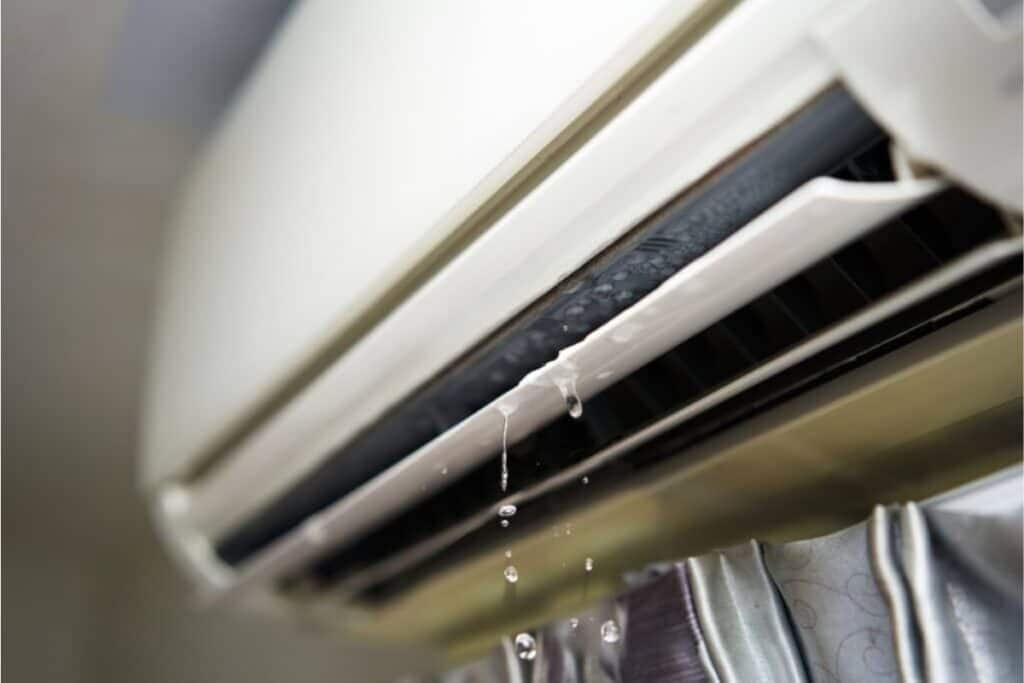
Your HVAC system converts air moisture into condensation to cool your house. Normally, this water drains out through a system of pipes and a drain pan. A clogged drain line or cracked pan forces water to pool around your unit instead of draining properly.
Have you noticed small puddles near your HVAC system? Or maybe even damp spots on your ceiling? These are clear signs that something’s not draining properly. Addressing the root cause quickly is key to preventing further damage. You should solve the issue immediately or contact an HVAC expert to fix it.
Warning Signs of HVAC Water Problems
Is your HVAC system trying to tell you something? Pay attention to these signs that water might be pooling where it shouldn’t:
- Puddles or Dampness: The most obvious clue is water gathering near your unit.
- Musty Odors: Stagnant water can lead to mold, which creates a distinct and unpleasant smell.
- Reduced Airflow: If your system feels like it’s struggling to cool your home, water buildup could be restricting airflow.
The sooner you catch these signs, the better. Ignoring them can lead to bigger problems like mold growth or costly repairs.
Common Locations for HVAC Water Leaks
Did you know your HVAC might be leaking in places you rarely check? These hidden spots can cause trouble if overlooked:
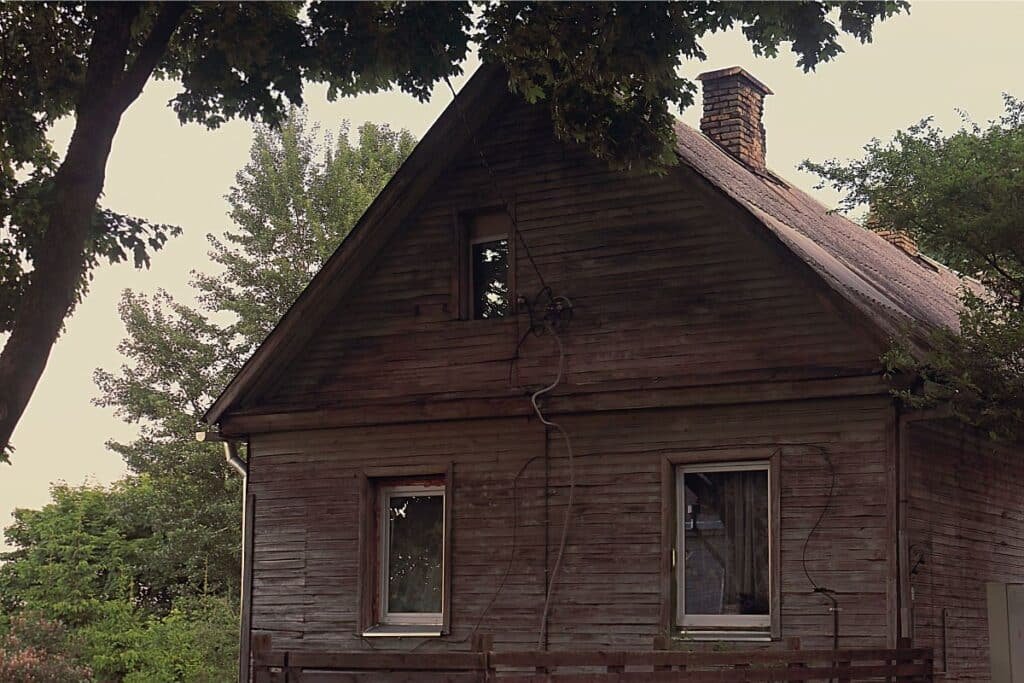
- Attics: Leaks here can seep through insulation and cause unsightly stains or even structural damage to your ceiling.
- Basements: Excess water in basements creates the perfect environment for mold which turns your storage space into a health hazard.
- Walls and Floors: Leaks near walls can weaken your home’s foundation over time, leading to expensive structural repairs.
A little proactive inspection can go a long way in preventing costly surprises down the road.
Common Causes of HVAC Water Leaks
1. Blocked HVAC Drain Lines
Blocked drain lines are like clogged arteries for your HVAC system. They stop water from flowing out and can lead to leaks. Dust, dirt and even algae buildup are common culprits. Think of it as a clogged sink but for your AC.
Quick Fix: Use a wet/dry vacuum to clear debris from the line.
Tip: Flush the line monthly with a vinegar solution to prevent future clogs.
2. Damaged or Cracked Condensate Drain Pan
The drain pan is your HVAC system’s backup plan for catching water. But over time, it can crack or rust which allows water to escape.
What to Do:
- For small cracks, apply a waterproof sealant as a temporary fix.
- If the pan is rusted or severely damaged, it’s best to replace it.
Tip: Check the pan during every maintenance session. It’s a simple habit that can save you from big headaches later.
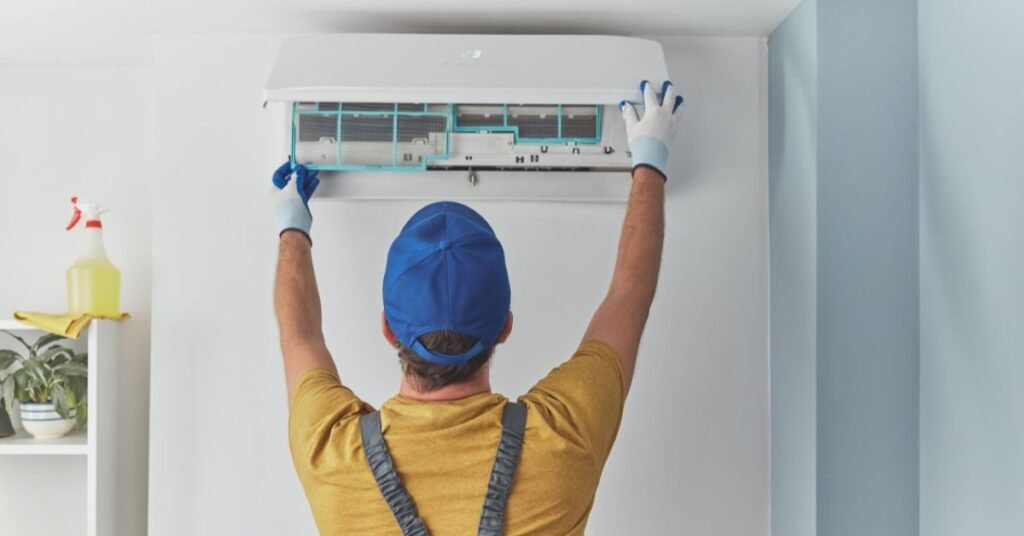
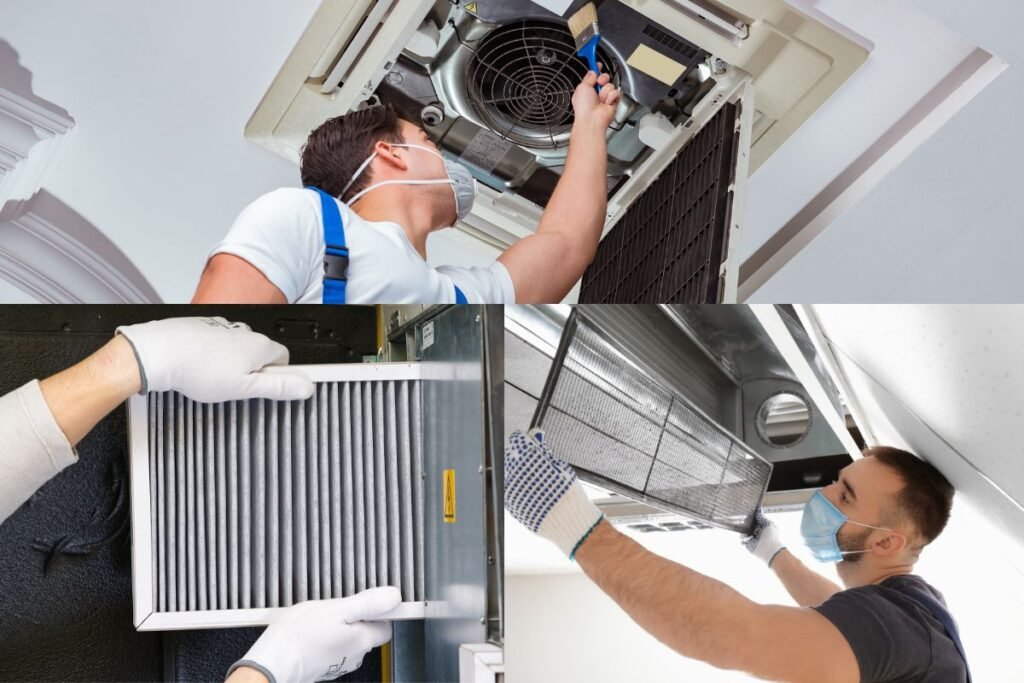
3. Dirty or Obstructed Air Filters
Air filters might not seem like a big deal but they play a crucial role in keeping your HVAC system running smoothly. A dirty filter blocks airflow and causes excess condensation that your system can’t handle.
Quick Fix: Replace your filters every 1–3 months, especially during peak seasons. Encouraging Tip: Clean filters not only prevent leaks but they also improve your home’s air quality.
4. Frozen Evaporator Coils Due to Low Refrigerant
Low refrigerant levels can cause your evaporator coils to freeze. When the ice thaws, it creates a flood of water your system isn’t equipped to handle.
Immediate Action: Turn off your HVAC unit and let the coils defrost naturally.
Pro Tip: Call a professional to check for refrigerant leaks or other underlying issues.
5. Improper HVAC Installation
An improperly installed HVAC system is like a tilted glass—it’s bound to spill. If the unit isn’t level or the drainage pipes aren’t aligned, water pooling is almost guaranteed.
Fix It:
- Check the unit’s level using a carpenter’s tool.
- Adjust the drainage pipes to ensure water flows freely.
How to Stop HVAC Water Leaks: Step-by-Step Solutions
Water leaks from your HVAC system may be frustrating, but with the right steps, you can tackle them quickly and effectively. Here’s a detailed step-by-step guide to address the problem safely and efficiently.
Step 1: Power Down Your HVAC System
Before you do anything else, turn off your HVAC system. Water and electricity don’t mix, and continuing to run your unit during a leak could lead to serious electrical hazards or further damage.
How to Turn It Off
- Locate the thermostat and switch it to the “off” position.
- For additional safety, shut off power at the circuit breaker that controls your HVAC system.
Why It’s Important: Powering down prevents short circuits and ensures that you can work safely on the system without risking injury or further complications.
Tip: If you are unsure which breaker controls your HVAC, look for the one labeled “Air Conditioner” or “HVAC” in your electrical panel.
Step 2: Clean and Unclog the Condensate Drain Line
A clogged drain line is one of the most common causes of water pooling around your HVAC system. Clearing it regularly prevents buildup and keeps water flowing properly.
Steps to Unclog the Line:
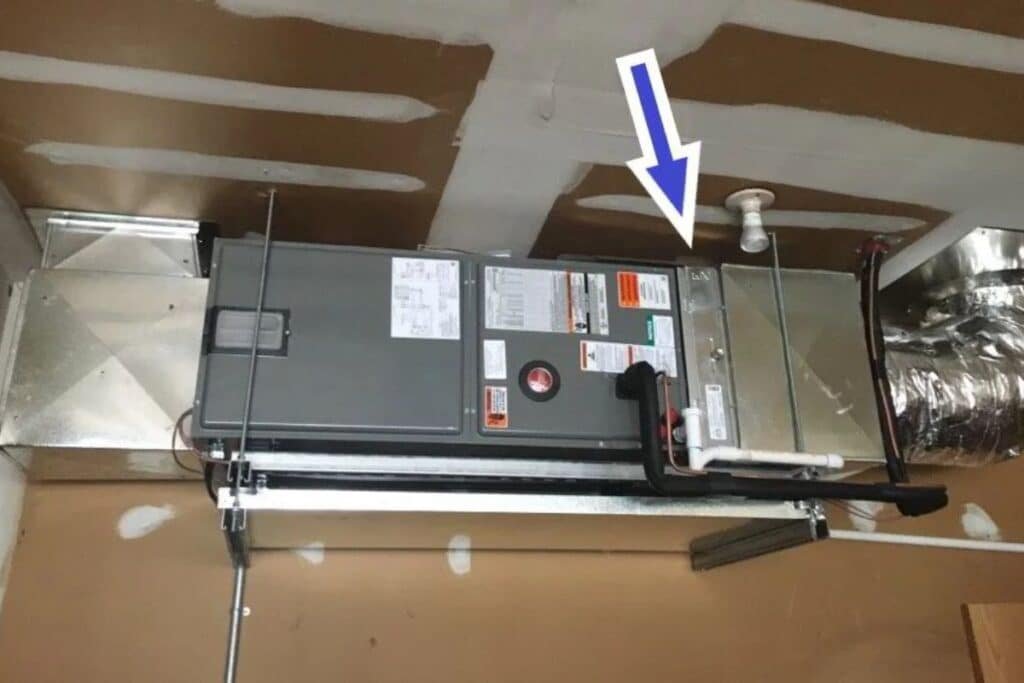
- Locate the drain line, which is usually a PVC pipe near the air handler.
- Use a wet/dry vacuum to suction out debris from the line. Attach the vacuum tightly for the best results.
- Mix a solution of one cup of vinegar and one cup of warm water. Pour it slowly into the drain line to kill bacteria and prevent future clogs.
- Flush the line with plain water to ensure everything flows smoothly.
Frequency of Cleaning: Perform this every 3–6 months to keep the line clear.
Tip: If you are dealing with a severe clog, use a flexible pipe cleaner or contact a professional for advanced tools.
Step 3: Check and Replace a Damaged Drain Pan
The condensate drain pan catches water from the cooling process, but over time, it can develop cracks or rust that cause leaks.
How to Inspect the Pan:
- Turn off the system and remove the access panel to locate the drain pan.
- Look for visible signs of cracks, rust, or standing water.
Temporary Fix:
- Use waterproof epoxy or sealant to patch small cracks. Let it dry completely before running your system.
Permanent Solution:
- Replace the drain pan if it’s extensively damaged. Purchase a pan compatible with your system model for a proper fit.
Tip: Check the pan during routine maintenance. Even small issues can escalate if ignored.
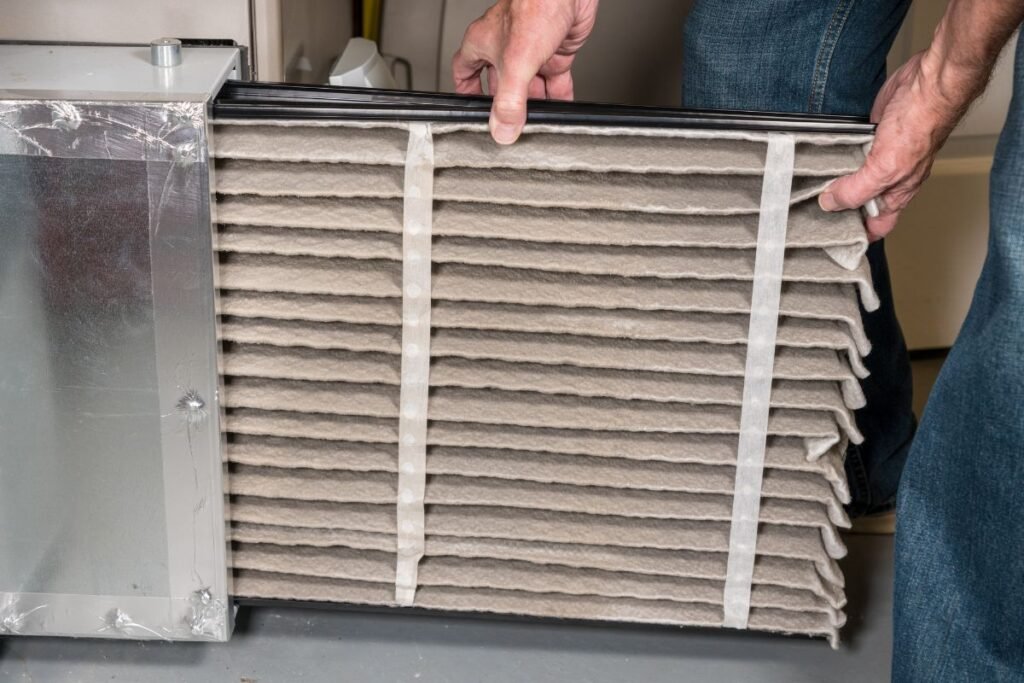
Step 4: Change Dirty Air Filters
Dirty air filters restrict airflow, leading to excess condensation that your system may struggle to manage. Regular filter changes are essential to prevent leaks and improve overall system efficiency.
Steps to Replace Filters:
- Turn off the HVAC system.
- Remove the old filter from its slot, typically located near the air handler or return vent.
- Insert a new filter with the arrows pointing in the direction of airflow.
- Turn the system back on.
How Often to Replace: Change filters every 1–3 months, or more frequently if you have pets or live in a dusty environment.
Tip: Use high-quality filters that are compatible with your HVAC system for better airflow and efficiency.
Step 5: Defrost Frozen Coils
Frozen evaporator coils can create a flood of water once the ice thaws. This usually happens due to low refrigerant levels or restricted airflow.
Steps to Defrost Coils:
- Turn off your HVAC system to allow the coils to thaw naturally. This may take several hours, depending on the extent of the freezing.
- Place a towel or bucket beneath the unit to catch melting water.
- Inspect the coils for dirt or debris that might restrict airflow and gently clean them using a soft brush or coil cleaner.
When to Call a Professional: If the coils keep freezing, contact an HVAC technician to check for refrigerant leaks or other system issues.
Tip: Ensure your air filters are clean and airflow is unobstructed to prevent freezing in the future.
Step 6: Verify Installation Quality
Improper installation can cause your HVAC system to drain water incorrectly. Checking for alignment and leveling can resolve this issue.
How to Inspect Installation:
- Check if the unit is level using a carpenter’s tool. If it’s tilted, adjust the base to ensure even weight distribution.
- Inspect drainage pipes for proper alignment. They should slope downward to direct water away from the unit.
- Ensure insulation is properly installed around pipes to prevent condensation buildup.
When to Call a Pro: If you’re unsure about making adjustments yourself, a professional can re-level the unit and realign pipes for optimal performance.
Tip: Poor installation often leads to long-term issues. If you suspect your system wasn’t installed correctly, have it inspected by an expert.
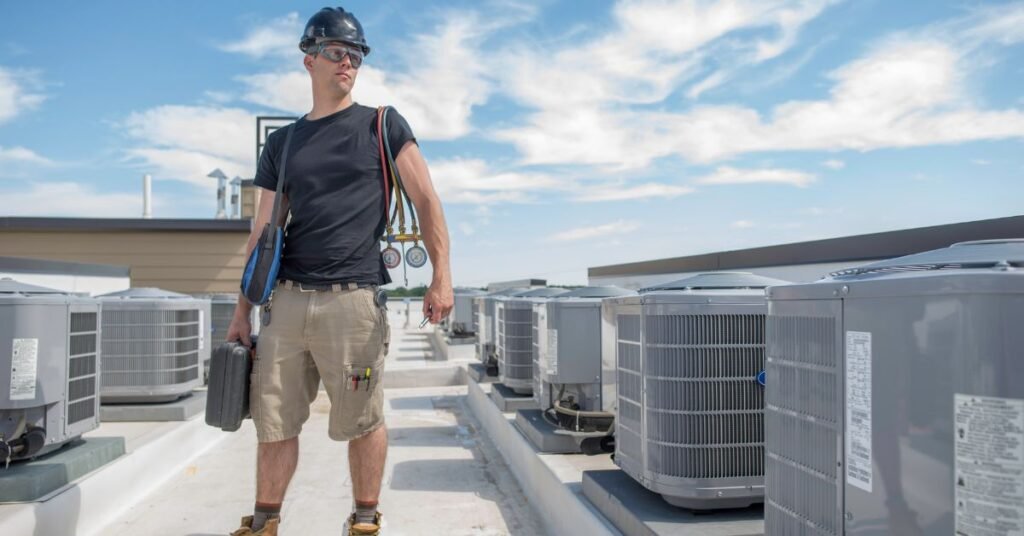
When to Call a Professional
Sometimes, fixing leaks requires expertise. If you have tried the above steps and the issue persists, it’s time to bring in a technician.
Signs You Need Professional Help:
- Water leaks persist after clearing the drain line or replacing the pan.
- Frozen coils keep coming back, indicating refrigerant issues.
- Electrical problems, such as short circuits or sparks near the unit.
How to Choose the Right HVAC Technician
- Certifications: Look for NATE or EPA 608 certifications.
- Experience: Ask if they’ve handled similar issues.
- Reviews: Check online ratings or ask for references.
- Warranty: Ensure they offer guarantees for their work.
Tips for Preventing HVAC Water Leaks for Good
1. Routine Maintenance
- Monthly Tasks: Replace air filters and check for visible leaks.
- Quarterly Tasks: Flush the drain line and inspect the pan for damage.
2. Use Smart Monitoring
Install sensors to detect leaks early and receive alerts on your phone before they escalate.
3. Use Your System Wisely
Keep your system from overworking by maintaining reasonable temperatures and proper airflow throughout your home.
Conclusion
In this guide, we have covered everything you need to know about how to stop water leaking from HVAC systems. We discussed common causes like clogged drain lines, damaged drain pans, and frozen HVAC coils. We also provided practical solutions you can apply to fix leaks quickly.
Regular HVAC maintenance, including tasks like HVAC drain line cleaning and changing filters, is key to preventing AC water damage and costly repairs.
We also highlighted how to spot warning signs, such as puddles, reduced airflow, and musty odors, so that you can address problems before they escalate. If the leaks don’t stop after trying to fix them, it’s best to contact a professional for help.
So, start your HVAC maintenance routine today and prevent leaks from damaging your system and home!